DIY Paint Protection Film Installation: A Step-by-Step Guide
Installing Paint Protection Film (PPF) on your vehicle might seem daunting at first, but it’s a rewarding DIY project that can save you money while keeping your car looking brand new. If you’ve ever wondered if you could tackle it yourself, the answer is yes—with the right tools, patience, and a bit of practice, you absolutely can! Whether you’re a seasoned DIYer or just starting, this guide will walk you through the steps to successfully install PPF and keep your ride shining for years to come.
What Is Paint Protection Film (PPF)?
Paint Protection Film, commonly referred to as PPF or a clear bra, is a remarkable shield made from thermoplastic urethane. This film is designed to be applied to the painted surfaces of your vehicle, acting as an invisible barrier against life’s little mishaps—such as rock chips, minor scratches from tree branches, or the environmental wear and tear that can dull your car’s finish over time. It offers more than just superficial protection; it preserves the integrity of your vehicle's appearance.
One of PPF’s standout features is its resilience. Typically available in various thicknesses ranging from 6 to 12 mils (0.006 to 0.012 inches), it offers substantial protective qualities despite its thin appearance. The film’s advanced technology includes self-healing properties: minor scratches and scuffs gradually disappear when exposed to heat from sunlight or warm water, allowing your vehicle to maintain a flawless appearance without constant touch-ups. This feature not only saves time on regular maintenance but also helps keep your car looking new longer.
Research shows that applying PPF doesn’t just shield your paint; it can also enhance the resale value of your vehicle by maintaining the exterior in excellent condition. However, while DIY options might seem appealing—costing about $250-$300 versus $895 for professional installation—there are factors to consider, such as skill level and potential for imperfections.
Why Choose DIY Installation?
Opting for a DIY PPF installation can be both fulfilling and financially wise. Many car enthusiasts view their vehicles not just as modes of transportation but as extensions of their personalities. Undertaking a DIY installation lets you dive deeper into caring for your vehicle while ensuring you’re protecting its appearance and value.
Cost Savings
With professional PPF installation costing anywhere between $895 and $2,500, the appeal of DIY becomes clearer. By choosing the DIY route, you could save up to 70% on installation costs. Imagine having an additional $1,500 in your pocket simply because you decided to take on the job yourself!
Customization Options
One of the great perks of DIY installation is the ability to customize your application. As the installer, you decide which areas of your vehicle to protect, based on your driving habits or aesthetic preferences. If you mostly drive in urban areas, for example, you may choose to protect against dings from shopping carts or other cars. With DIY PPF, you have complete control over what gets covered.
Flexibility in Timing
Choosing the DIY route means you’re not bound by someone else’s schedule. You can take your time to ensure each section is perfect without pressure. A typical DIY installation may take anywhere from 4 to 10 hours, depending on your vehicle’s complexity. This timeline allows you to take breaks, recheck your progress, and proceed at your own pace.
Skill Development
Taking on this project enhances your automotive knowledge and manual skills. Successful installation of PPF can boost your confidence in tackling future car care challenges, such as applying ceramic coatings or window tinting. Plus, gaining these skills fosters a sense of community with fellow car enthusiasts who share tips and advice in online forums.
Tools and Materials Needed
To start your DIY PPF project, you’ll need a well-stocked toolkit. Here’s what you’ll need:
- PPF Roll (Standard Car): $250 - $300
- Spray Bottle: $5 - $10
- Squeegee: $10 - $15
- Cutting Knife: $10 - $20
- Heat Gun/Hairdryer: $25 - $50
Having the right tools will set you up for success. High-quality materials, like the 3M Scotchgard Pro series, offer impressive self-healing properties, making them a popular choice for DIY enthusiasts.
Preparing Your Vehicle
Proper preparation is crucial for achieving a smooth and long-lasting finish. A poorly prepared surface will result in a subpar installation that you’ll regret later.
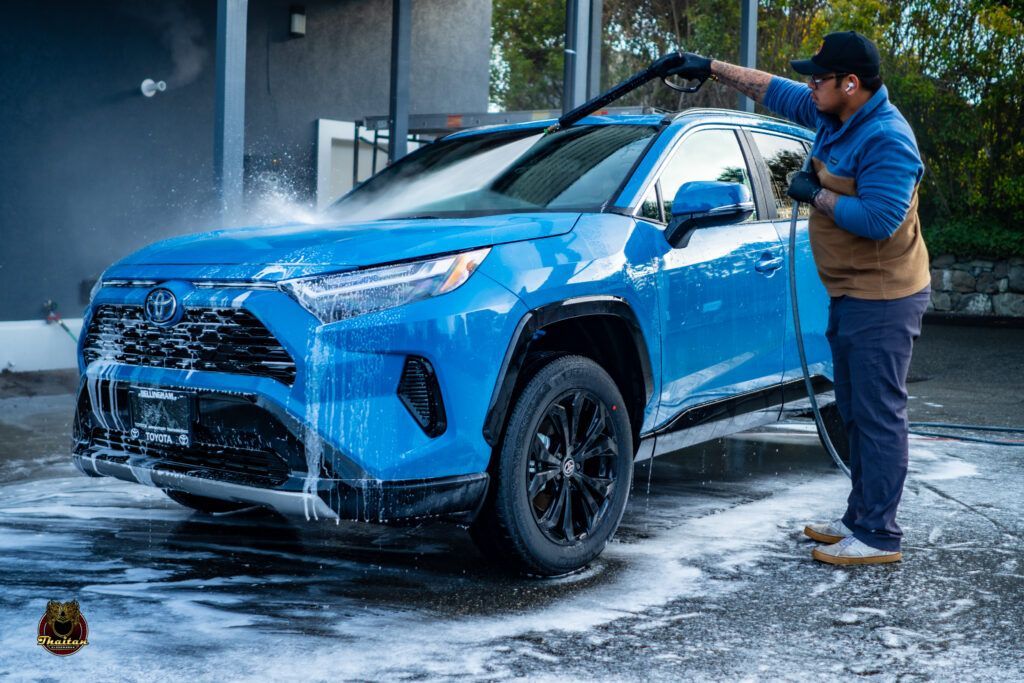
Step I - Thorough Cleaning
Start by washing your car with pH-neutral car soap to remove dirt, grime, and any old wax that may have accumulated. Dry your vehicle completely with a soft microfiber towel to avoid water spots. For added cleanliness, consider using a clay bar to eliminate embedded contaminants like road grit or tar.
Step II - Degreasing
After cleaning, use isopropyl alcohol (preferably 70% or higher) to wipe down your vehicle. This step ensures that any soap or wax residues are removed, which is critical for PPF adhesion.
Applying the Film
Now comes the fun part: applying the PPF!
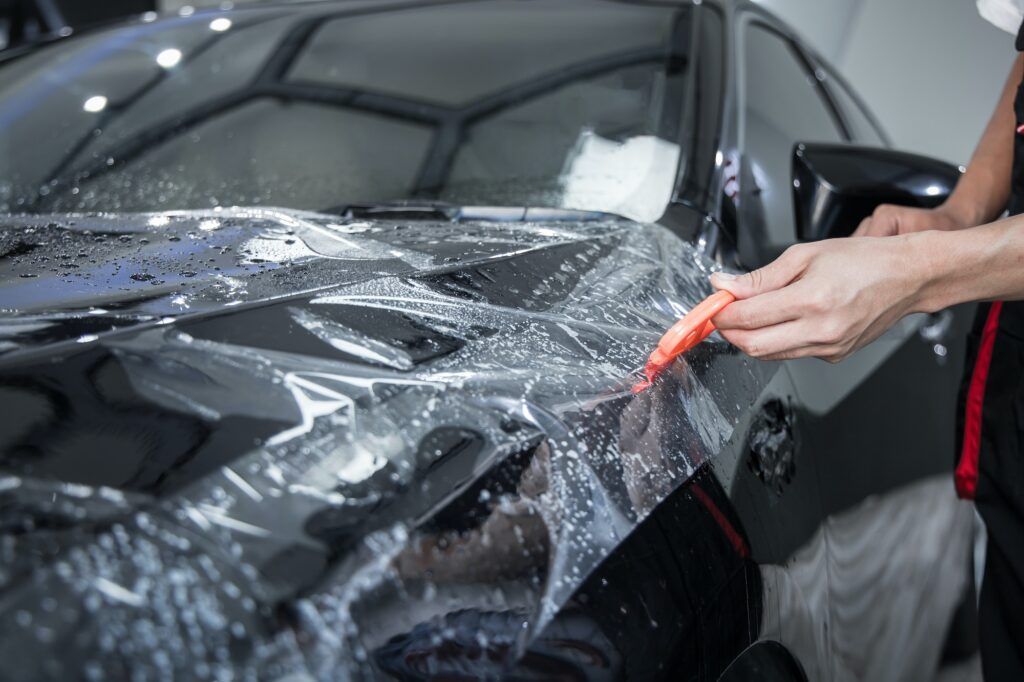
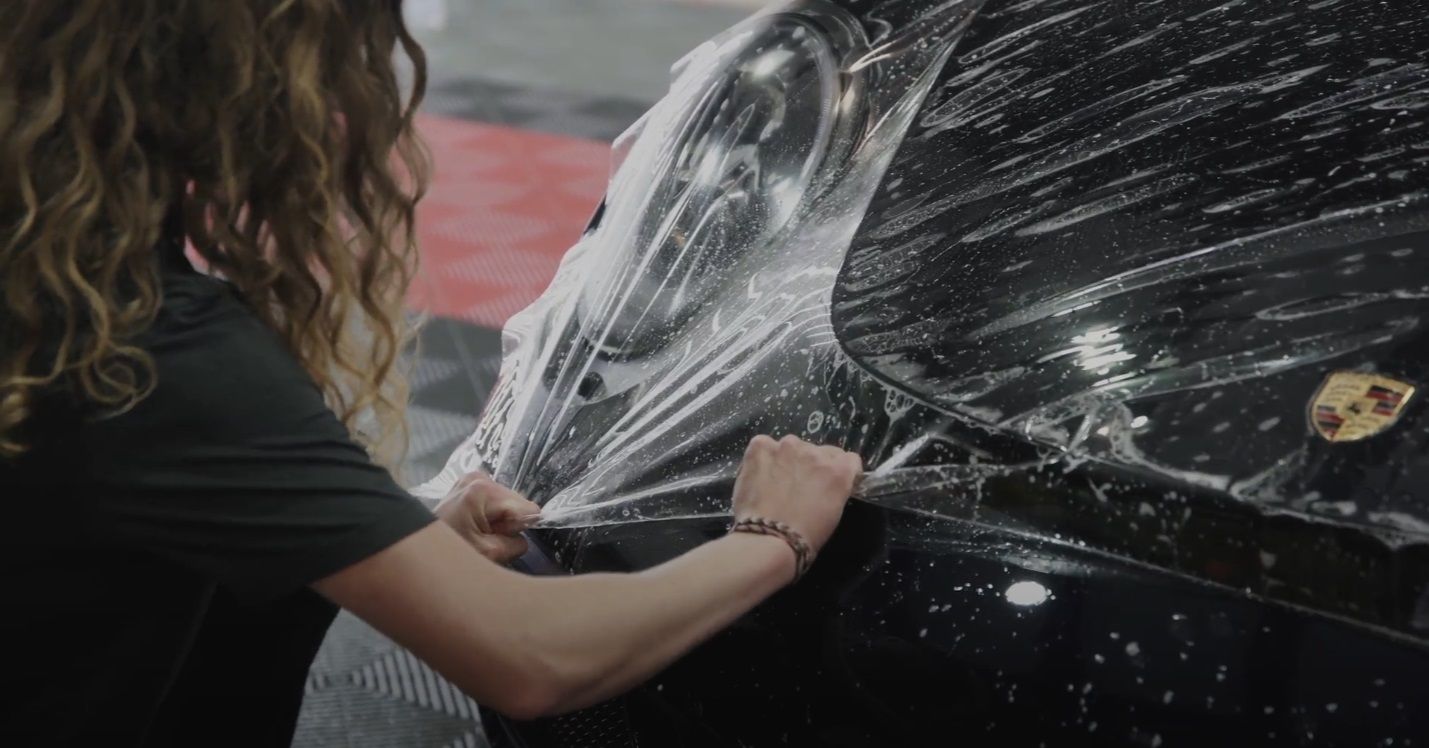
Step I - Positioning the Film
Start by liberally spraying the surface of your car with soapy water. This creates a slippery layer that allows you to reposition the film if necessary. Take your pre-cut film and place it onto the wet surface. Ensure the film fits neatly along the body lines and curves. Don’t worry about perfect placement initially; the soapy solution will let you make adjustments.
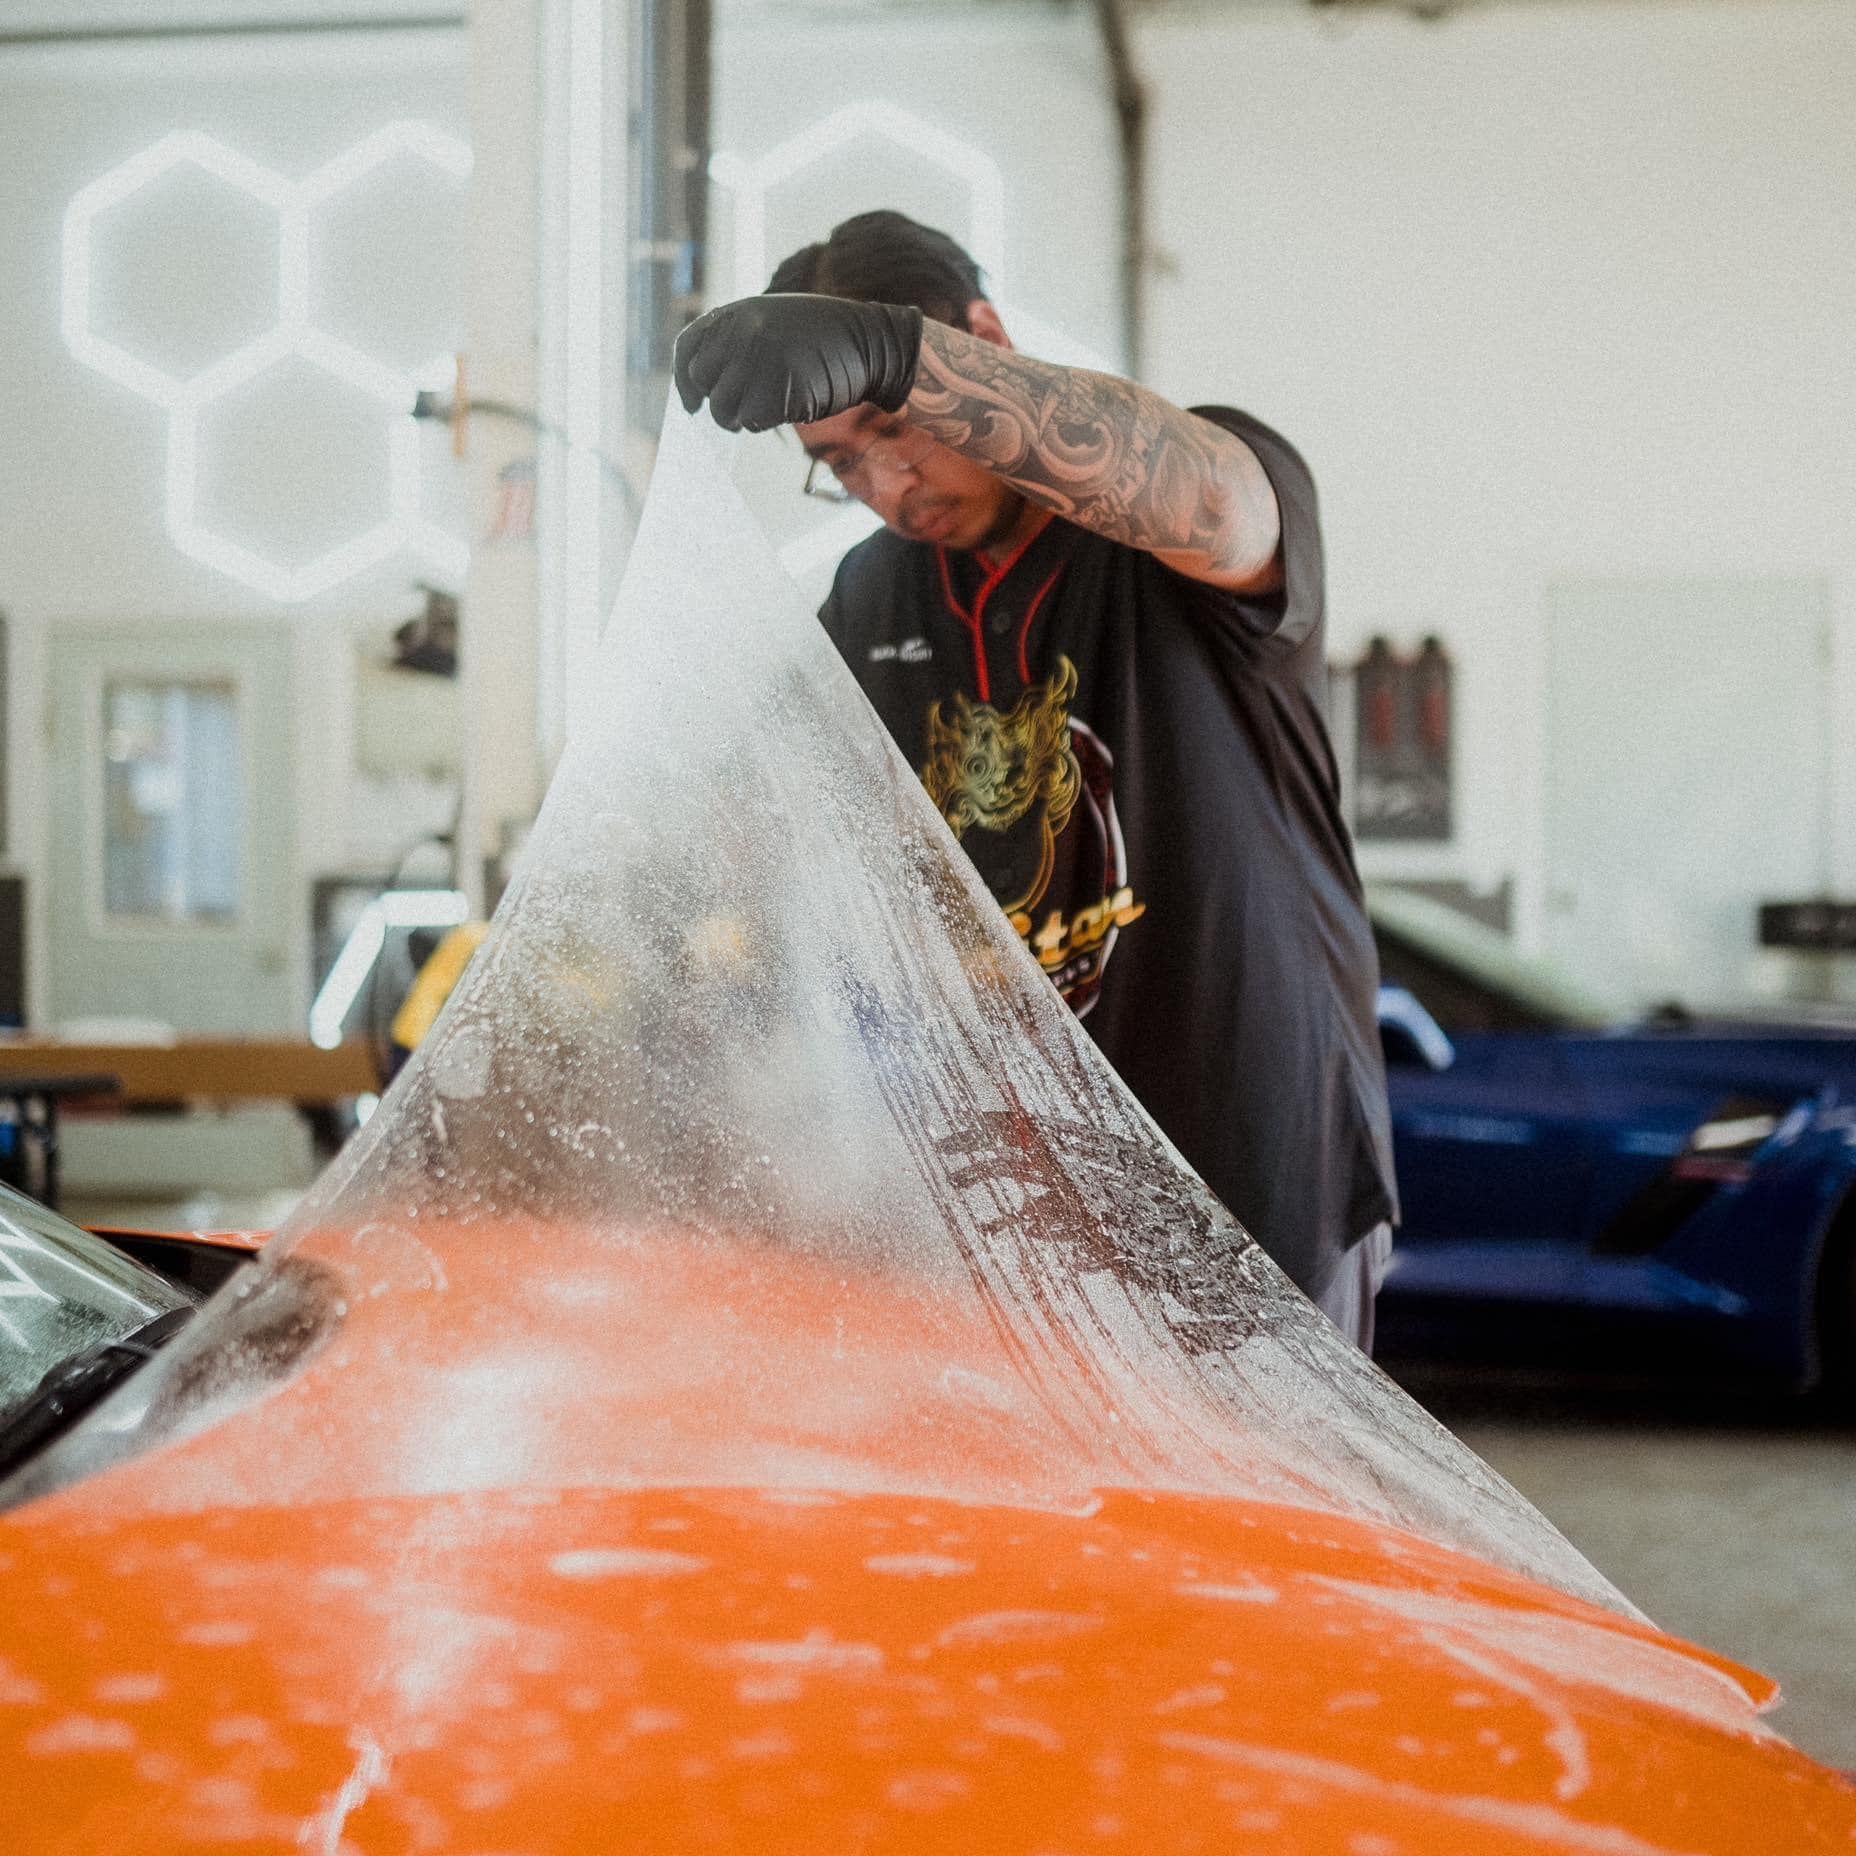
Step II - Squeegeeing Out Bubbles
Once the film is positioned, use your squeegee to push out the water and air bubbles. Start from the center and work your way out to the edges. This step eliminates trapped air and ensures a smooth finish. If you encounter difficult curves, a heat gun can help soften the film, allowing it to stretch and conform to the shape of your vehicle.
Troubleshooting and Tips
Even experienced DIYers face challenges. Here are some tips to ensure success:
Bubbles
Small bubbles can usually be pushed out with the squeegee. Larger bubbles may require using a small pin to release the trapped air.
Peeling Edges
If the film starts to peel, gently warm the edges with a heat gun and press down with the squeegee to ensure a tight bond.
Surface Preparation
Always ensure your vehicle’s surface is spotless before applying PPF. Dust or debris under the film can cause bumps or affect adhesion.
Final Thoughts
While DIY installation of Paint Protection Film (PPF) is a rewarding challenge, it requires patience and skill. By following this guide and taking your time, you can achieve a flawless finish that will protect your vehicle for years. Remember: practice makes perfect, and each installation helps you improve your craft.
Ready to protect your vehicle with professional-grade Paint Protection Film? Whether you're looking for DIY guidance or prefer expert installation, Thaitan Glossworks is here to help. Contact us today for a free quote and discover how we can keep your car looking flawless for years to come. Schedule your appointment now with Thaitan Glossworks!
Good luck, and enjoy your vehicle’s newfound shine and protection!