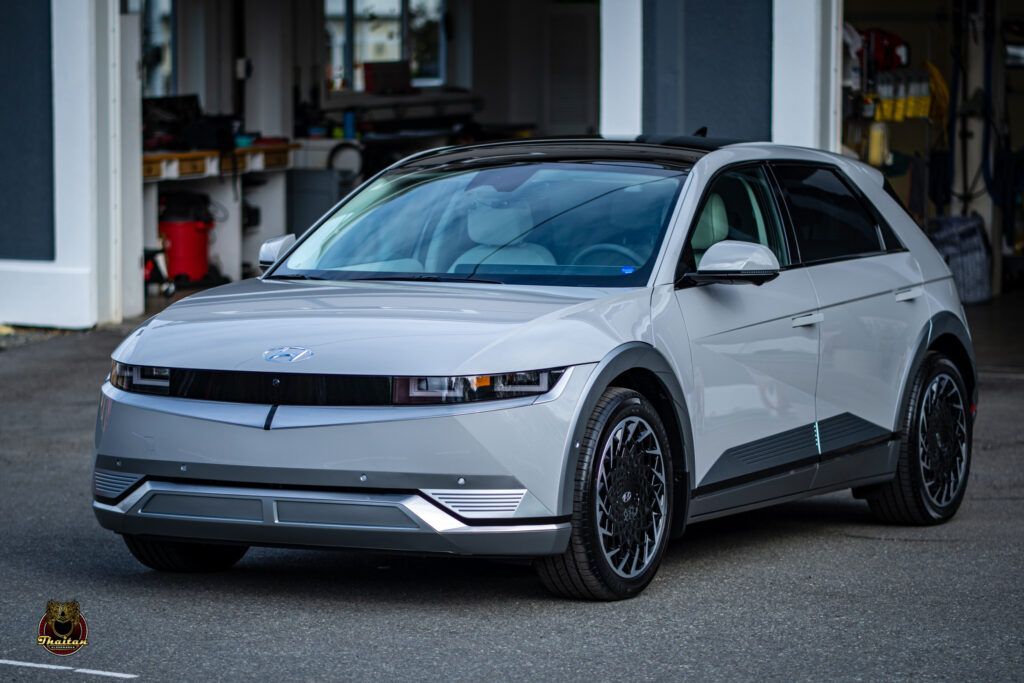
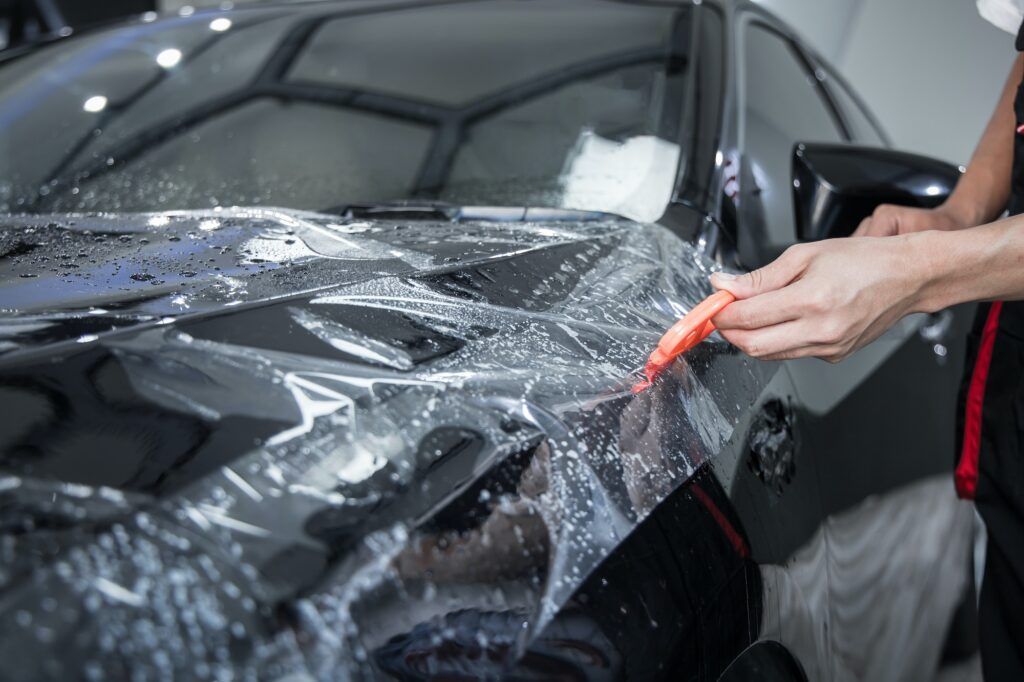
DIY Paint Protection Film Installation: A Complete Guide for Car Owners
If you want to keep your car looking new and shiny for years to come, installing paint protection film (PPF) might just be one of the best decisions you'll ever make. Imagine driving around in a vehicle that stays free from unsightly chips—all thanks to a little DIY magic! But before you dive into the world of PPF installation, it's important to know what you're getting into. While taking on such a project can feel rewarding and exciting, it can also get tricky if you're not prepared. Whether you're a DIY enthusiast or just someone wanting to protect your prized possession, let’s take this journey together, ensuring you’re equipped with all the right knowledge and tools to achieve a professional-looking finish at home.
While it is possible to DIY paint protection film installation, it requires a significant level of skill, patience, and attention to detail. Beginners may find the process challenging and time-consuming. For optimal results and a quality finish, it is often recommended to seek professional installation from certified experts.
Required Tools and Materials
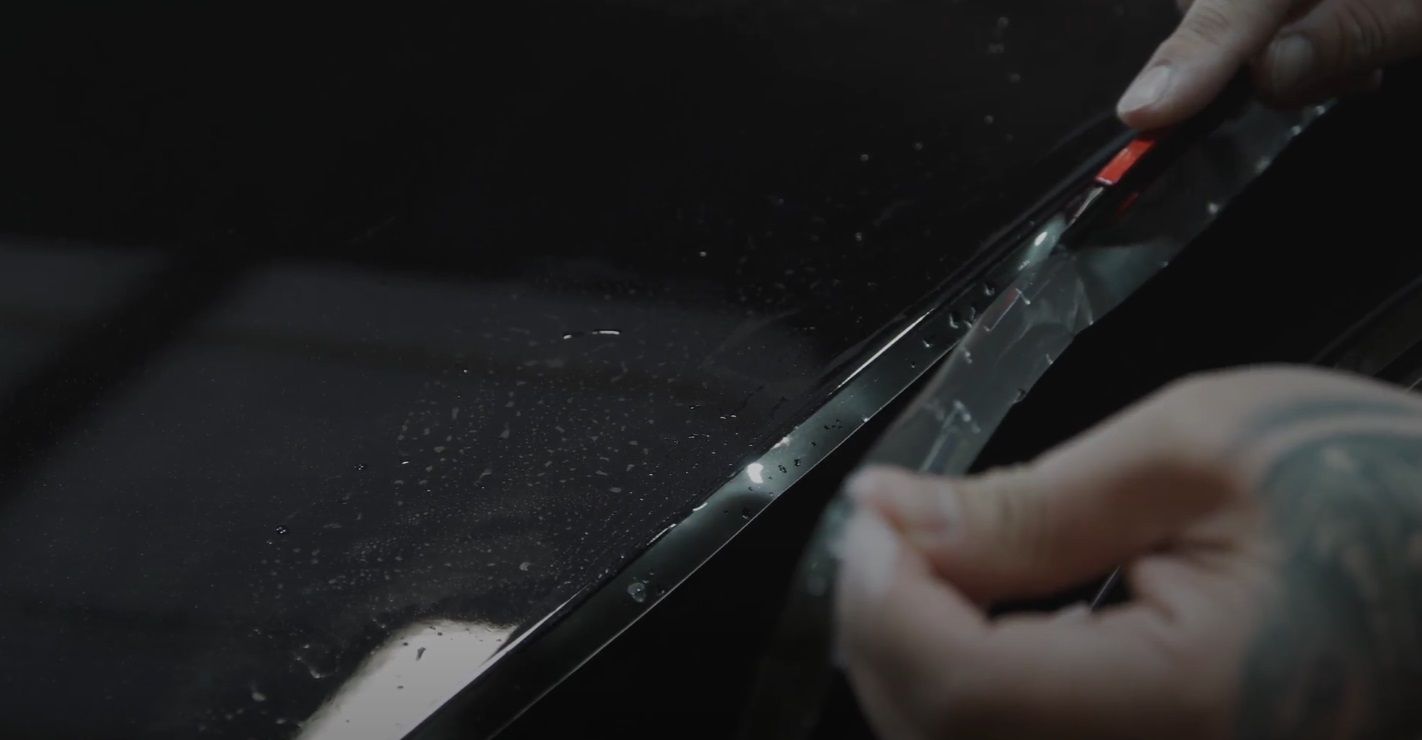
To kick off your DIY adventures with paint protection film installation, you must gather a few essential tools and materials that will make all the difference in the quality of your work. Think about this: without the right gear, what could be a smooth process can quickly turn into a frustrating challenge. At Thaitan Glossworks, we always emphasize preparation as it sets the foundation for success.
Essential Tools
Squeegee: This isn’t just any flat piece of rubber; it’s your best friend for smoothing out the film and ensuring air bubbles don’t spoil your hard work. The ideal squeegee should be 4-6 inches wide and made from soft rubber or felt to avoid scratching the film's surface. As you glide it across the film, apply consistent pressure to effectively push out any trapped air beneath it.
Spray Bottle (Water and Baby Shampoo Mix): A good lubrication solution is essential as it allows you to slide the film into place before it adheres strongly. Mix one part baby shampoo with ten parts water in your spray bottle. It’s simple, effective, and keeps things manageable.
Heat Gun: A heat gun is crucial for making the film pliable enough to conform to curves and edges. Using a heat gun with adjustable temperature settings lets you control how much heat you're applying—too much can damage the film, while too little may not allow it to conform correctly. Typically, settings around 1200-1500 watts work best. Always take care when using it; distance matters! Keep it approximately six inches away from the surface of the film to avoid overheating and damaging it.
Microfiber Towels: These towels are designed to trap dirt and dust while being gentle enough on surfaces that might still have their shine. You'll need several on hand—at least five—to wipe down both your vehicle’s surface before application and dry any areas after cleaning them.
Precision Knife: When installing PPF, having an accurate cutting tool is vital. A precision knife with an 18mm retractable blade allows you to cut excess film accurately without risking damage to the car's paint underneath. Always take your time with this; rushing can lead to unnecessary mistakes.
By now, you’ve equipped yourself with the key tools necessary for a good start. Now, let’s dive into understanding the qualities needed for different films available in today's market.
Selecting the Right Paint Protection Film
Choosing a paint protection film can feel intimidating, but understanding the different types available can greatly simplify the process. The key lies in matching the film's characteristics to your specific needs and driving conditions. As you embark on this exciting journey of protecting your vehicle, consider how you drive, where you park, and even how often you wash your car.
Types of Paint Protection Film
There are mainly two types of paint protection films you’ll come across: Thermoplastic Polyurethane (TPU) and Vinyl. Both have their unique attributes, but one may suit your requirements better than the other.
Thermoplastic Polyurethane (TPU): This is a favorite among DIY enthusiasts due to its flexibility and self-healing properties. If you accidentally scratch it, minor scrapes can disappear when exposed to heat—like from the sun or even hairdryers! This quality makes it particularly useful for those who frequent rugged terrains or busy city streets.
Vinyl: Vinyl offers an easier application experience and is more convenient for those who might be less familiar with installation techniques. While it simplifies the process, it's worth noting that it typically doesn’t offer the same level of durability as TPU.
As you weigh your options, keep in mind that while thicker films like TPU provide greater protection against chemical contaminants, they can also be a bit more challenging to install. You’ll want to balance your comfort level with installation against the level of protection you desire for your vehicle.
| Feature | TPU | Vinyl |
|---|---|---|
| Flexibility | High | Medium |
| Durability | Very Durable | Moderate |
| Ease of Application | Challenging | Easier |
Preparing Your Vehicle Surface
Proper surface preparation is critical to avoid trapping dirt or debris under the film, which can compromise both the aesthetics and functionality of the paint protection film (PPF).
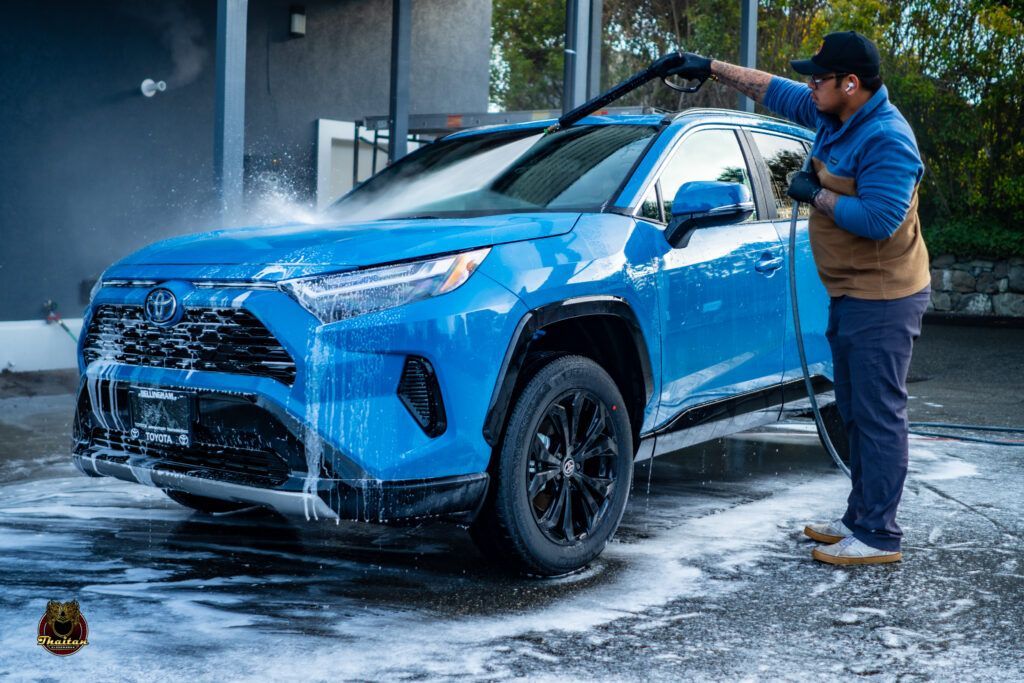
Wash the Vehicle Thoroughly: Start by washing your vehicle with a pH-balanced car shampoo. This ensures all surface dirt, dust, and grime are effectively removed without harming the paint. Make sure you rinse thoroughly to leave no soap residues behind.
Claying the Surface: Use a clay bar to remove stubborn contaminants that regular washing won’t clear away. Apply clay bar lubricant and glide the lubricated clay bar over the surface of your car in a back-and-forth motion. This will help achieve a smoother surface for the PPF.
Inspect and Polish: After washing and claying, inspect the vehicle for any imperfections like scratches or swirl marks. If you find any, use a polishing compound to rectify them. This ensures that the PPF application will look seamless and flawless.
Step-by-Step Installation Process
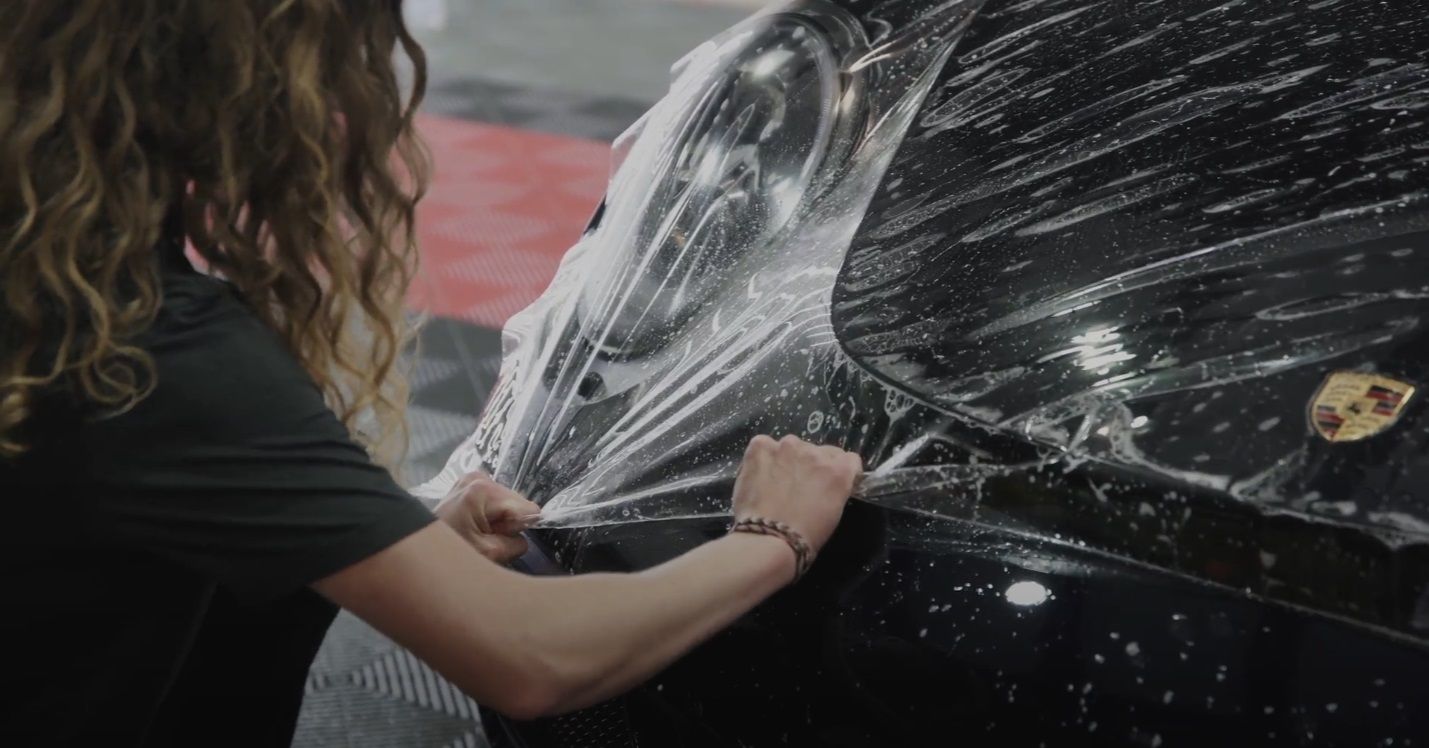
The process of applying Paint Protection Film (PPF) may seem straightforward, but attention to detail at each stage is essential for achieving optimal results.
Spray: Generously coat both the vehicle’s surface and the adhesive side of the film with a mixture of water and baby shampoo. This helps lubricate both surfaces, making adjustments easier.
Position the Film: Lay the film onto the wet surface. The lubrication allows you to slide it into place without risking premature adhesion. Take your time to align it perfectly.
Squeegee: Start at the center of the film and work your way outward using firm, even pressure. This pushes out any trapped water or air bubbles beneath the film. Make sure to get rid of any air bubbles as they can create vulnerabilities in the film.
Heat: Use a heat gun on low to medium settings to make the film more pliable. This helps the film conform around tricky areas such as door edges or wheel arches. Avoid overheating the film.
Curing: Allow the film to cure for at least 24 hours before exposing it to harsh conditions like rain or extreme heat. This promotes long-lasting adhesion and ensures the film stays in place.
Common Challenges and How to Overcome Them
Many DIYers face challenges like air bubbles, wrinkles, and lifting edges during their PPF installation. Here’s how to overcome them:
Air Bubbles: Gently puncture the air bubbles with a pin and smooth the area using a squeegee.
Wrinkles: Apply heat to the affected area to make the film more pliable, and gently stretch it out.
Film Lifting: If you notice the film lifting at the edges, reapply adhesive to the lifted edge.
Comparing Professional and DIY Installation
When considering whether to DIY or go professional, three key factors stand out: cost, quality, and time investment.
Cost: DIY kits cost between $200 to $500, but misapplying the film may lead to additional costs. Professional installations range from $1,500 to $5,000 but come with peace of mind and a high-quality finish.
Quality: Professionals offer years of experience and access to higher-quality materials, ensuring a flawless finish.
Time Investment: DIY installations can take a weekend or longer, while professionals typically complete the job in a day.
Final Thoughts
DIY installation of paint protection film (PPF) can be a rewarding project for car enthusiasts who enjoy hands-on work and are prepared to invest the time and effort needed for a professional-looking finish. However, as we’ve discussed, it requires patience, precision, and the right tools. While it’s possible to achieve good results on your own, the process can be challenging, especially for beginners. If you want to ensure your vehicle gets the highest level of protection without the hassle and potential setbacks of a DIY project, professional installation may be the best choice for you.
At Thaitan Glossworks, we specialize in PPF and ceramic coating services, offering expert installation that guarantees a flawless finish. Whether you choose to go the DIY route or prefer to leave it to the professionals, the most important thing is protecting your vehicle’s value and appearance for years to come.
Ready to give your car the protection it deserves? Don’t risk a DIY mishap—trust the experts at
Thaitan Glossworks for all your
paint protection film needs. Contact us today to schedule your professional installation and ensure your vehicle looks pristine for years to come.
Book your appointment now!

